Aliens: Fireteam Elite 2 Builds
Loadout frameworks for all six classes, assembled strictly from weapons, abilities and perks named in Cold Iron's official class showcases and preview coverage. Where a combination is our editorial recommendation rather than an official pairing, it is labeled as such.
How to read these builds
Every build below cites its parts: signature weapons and kit-UI figures come from AvP Central's weapon roundup, abilities and perks from the AvP Central class roundup and the Steam News showcases as summarized by G2A's class guide. Four-player squads (up from three in the first game) mean each build is framed around the problem it solves for the squad, not just personal damage.
Marauder — swarm clear & heavy ordnance
Role: delete packs, punish anything that breaks the front line. Signatures: M12A1 Rocket Launcher (72 acc / 43 stab, damage holding to ~80 m) for reach, or OCAP-91 Volcan heavy flamethrower (100 / 82, full damage to ~30 m) for room clears; Marauder also fields smartguns as swarm-clearing heavies. Shoulder kits: Blast Cannon (Blastwave or Thermal Cannon modifiers) for close pressure, Titan Rockets (Phosphorous Rocket or Rocket Mines) for big explosive answers. Perks: Rampage stacks on kills — at 25 stacks it spikes fire rate, reload and movement speed for eight seconds at the cost of stability; Reactive Charges answers melee hits with a concussive knockback on a 30-second cooldown (AvP Central).
Editorial note: this is the natural Horde mode anchor — Volcan plus Rocket Mines covers lanes, and Rampage rewards exactly the kill density Horde waves provide. Keep a Hunter or Machinist nearby for anything that slips the flame line.
Duelist — sustained DPS with an exit plan
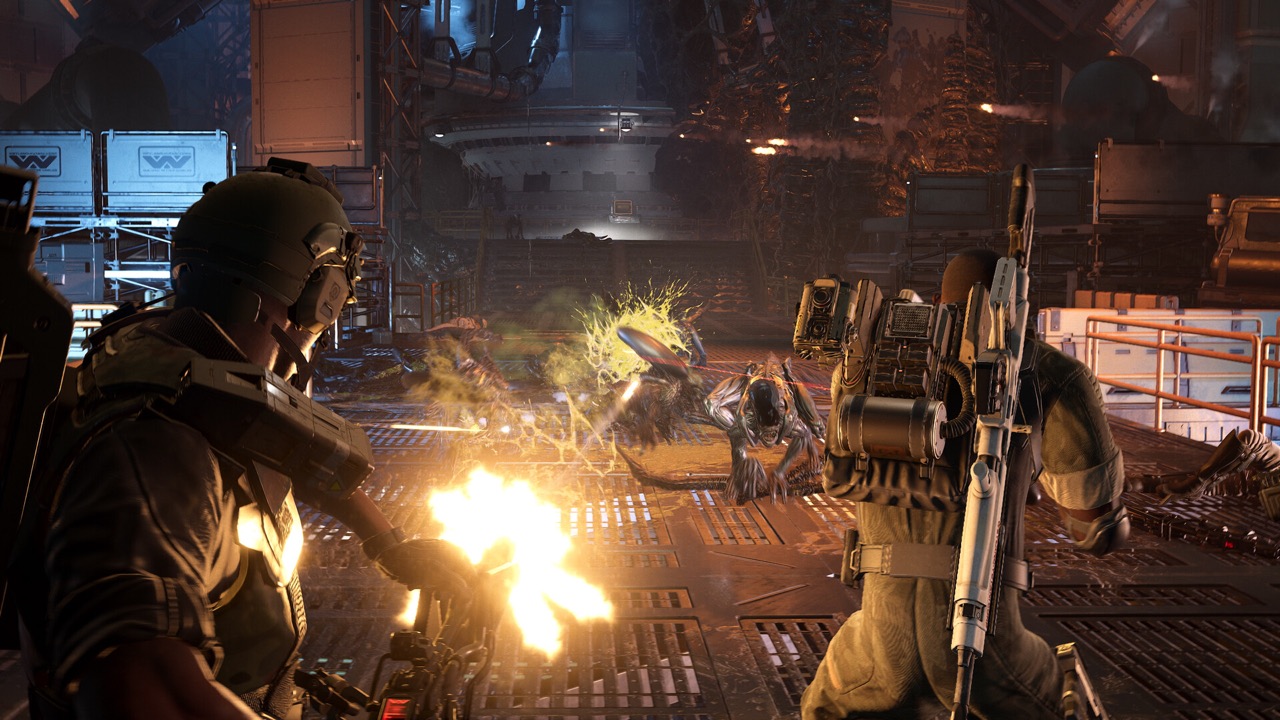
Role: flexible primary damage that can reposition. Duelist can run two primary weapons (AvP Galaxy). Signatures: DB-48 Daittyo Heavy Rifle for sustained corridor fire, HNT-1 E1 Alamein Revolver Rifle (87 / 67, steep drop toward 100 m) for precision hits on heavies — swap mid-fight when a runner flood becomes one big target (AvP Central). Kit: Burst Configuration (Fragment or Precision Configuration) plus Shrapnel Grenade for explosive distance creation. Perks: Stay on Target rewards sustained fire on one enemy; Mobility raises movement speed and stun recovery (G2A / Steam News).
Editorial note: the most forgiving DPS build for players learning spawn patterns — Stay on Target plus the Alamein handles Warden- and Crusher-style heavies, while Mobility is your insurance against Drone ambushes.
Machinist — hold the corridor
Role: area denial and flank security. Signatures: SMB-94 Zephyr Plasma Emitter (kit UI in the mid-70s/80s, the longer plasma reach) to melt dense packs and synthetic armor, EDS-93 Zadak Plasma Discharger Mk.2 (44 / 66, falls off after ~8 m) as the close dump. Deployables: Sentry Turret (Rumble or Gas variants) and the Bodyguard drone (Shredder or Artillery kits). Perks: Cross-Platform Synergy gives allies near your turret 10% damage resistance and regenerates the turret 5 hp/s while you stand near it; Scalable Machine Learning grants 10% reload speed and stability per machine kill, stacking to five (AvP Central).
Editorial note: the highest-ceiling build on the roster — turret placement is everything. Anchor chokepoints on defense objectives and treat the Zadak as a panic button when something slips past your hardware.
Hunter — weak-point executioner
Role: mid-range shred and priority-target deletion. Hands-on coverage puts Hunter on SMGs and shotguns, with electric traps to slow enemies (AvP Central; Wikipedia). Signatures: BD-03 Djinn Personal Railgun — the finisher once Particle Pulse or Stasis Bolt opens a weak-point window — and the Type 111 Directed Particle Emitter beside it. Perks: No Mercy and No Rest raise weak-point damage and stopping power on exactly those pinned-target shots (AvP Central).
Editorial note: the trap → slow → railgun sequence is the build: electric traps set the window, Djinn closes it. Pair with a Marauder so someone else owns the trash mobs while you execute the big ones.
Medic — keep the push alive
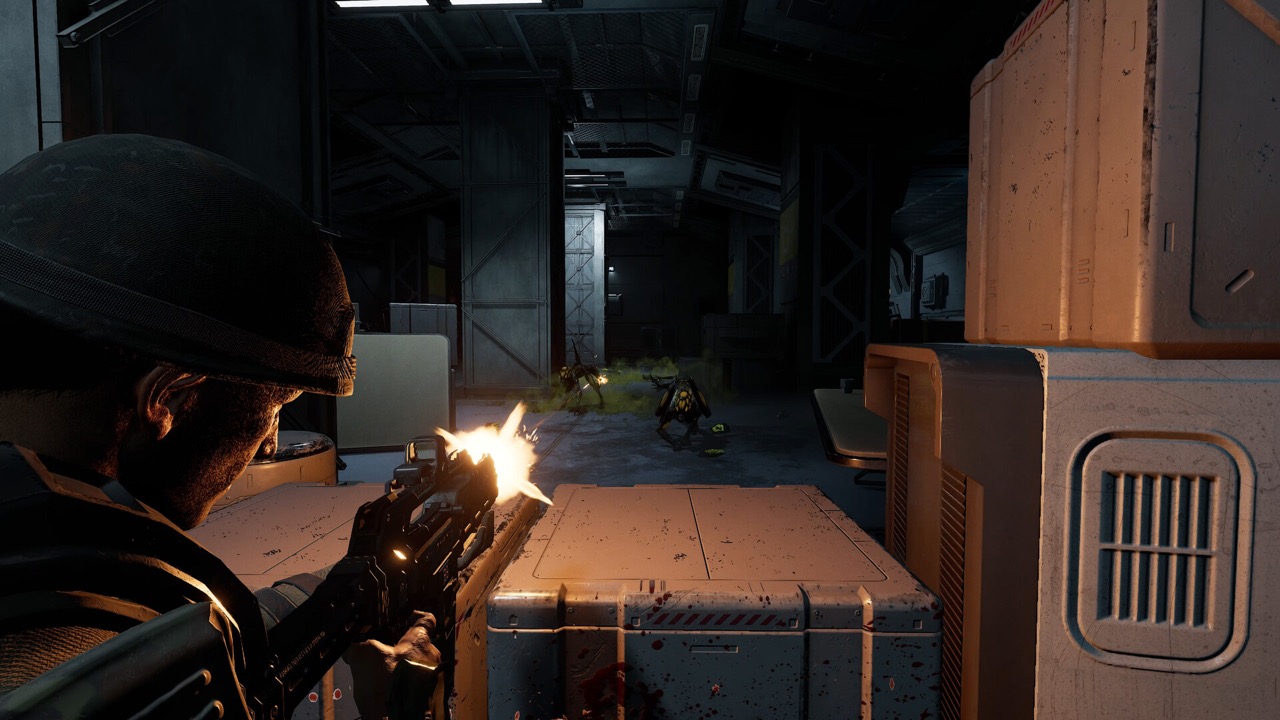
Role: sustain and team damage. Kit: a deployable healing device that restores nearby Marines over time, plus an adrenaline burst that boosts team damage for a short window (AvP Central, citing IGN's preview). Signatures: Armat X1 Fireball (86 / 59, sharp drop after ~50–60 m) as the incendiary mid option, and the Weyland-Yutani Type 21 Tactical Shotgun Mk.2 (39 / 65, falls off inside 10–20 m) for doorway defense (AvP Central).
Editorial note: the best first build in co-op — healing forgives positioning mistakes while you learn maps, and the adrenaline burst makes even a defensive pick contribute damage during heavy spawns.
Specialist — build around the gap
The Specialist unlocks after leveling the other classes and can mix major and minor abilities from across the roster (G2A / Steam News; official site). The Steam News-derived guidance is to build around problems, not favorite abilities:
| Build goal | What to prioritize | Best against |
|---|---|---|
| Swarm control | Area damage, explosives, knockback, fire/electric ammo, lane denial | Exploders, swarm waves, tight corridors, Horde mode |
| Heavy target killer | Sustained and precision damage, burst tools, mobility | Warden, Crusher, Drone, priority threats |
| Squad support | Healing, buffs, emergency and defensive utility | Long missions, bad pushes, mixed packs |
| Control & recovery | Stun recovery, movement, knockback, traps, distance creation | Harbinger grapples, Drone ambushes, Crusher charges |
Framework per G2A's summary of the Steam News showcases; enemy behaviors (Warden zone control, Harbinger grapple, Crusher charge, Drone vent ambush, Exploder splash) from the same Steam News coverage.
Horde mode — squad composition
Editorial recommendation, from the sourced kits above: a proven-shaped four-Marine Horde core is Marauder (Volcan + Rocket Mines for lanes), Machinist (turret + Bodyguard anchoring the point, Cross-Platform Synergy toughening the stack), Medic (healing device + adrenaline for heavy waves), and a flex slot — Hunter for executions or a second Marauder for pure clear speed. Once your roster is leveled, a Specialist built for swarm control or recovery replaces whichever slot your squad keeps failing.
Sources on this page: AvP Central weapons roundup · AvP Central class roundup · AvP Galaxy · G2A (Steam News summaries) · official site · Wikipedia. Editorial recommendations are labeled; per our editorial policy no stats are invented.